Knitting Surgery – Part 1
So…my Rogue hoodie is too short. Not too short to fit on my body, but short enough that it hits me someplace unflattering. Like somewhere between my knees and my navel. Rather than be glum about this, I have chosen to see this as an opportunity to take scissors to my knitting OF MY OWN ACCORD. This is big, people.
This particular knitting surgery happens in three parts: cutting the knitting apart, knitting one piece to an appropriate length, and reattaching the two parts together. Here, for your edification, is Part 1: Cutting the Stitches.
First, you will need to locate the section in the garment you are going to lengthen. For my Rogue, this will be in the section after the waist decreases, where the pattern indicates you can repeat the short cable repeat ad nauseum until the piece is an appropriate length. Me? Did not repeat ad nauseum enough. For my little brown swatch, it’s somewhere in the middle.
Secure the stitches above and below the row you will cut apart on. I inserted two needles from right to left into the right-hand side of the loops on the knit side.
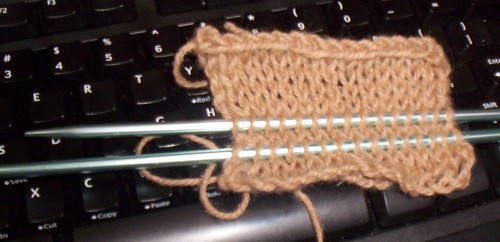
If you turn the knitting over at this point, you will see that there are two rows of purl bumps between the needles, both snug up against the needles. This is how you can be sure you have just one row selected to be cut.
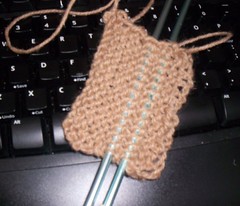
This step is not for the faint of heart. Take the scissors to your knitting. Go ahead.
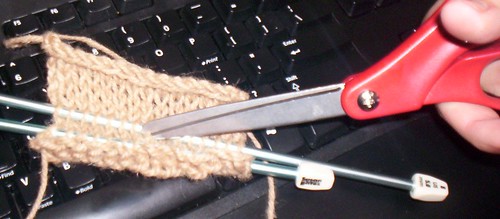
To make things faster, you can snip to within 2 inches of the end of the row, and just pull out all of the little purl curls that result.
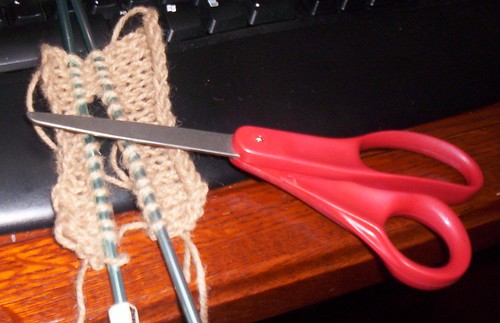
Then you can unravel the sections near the ends by pulling on the purl loops one by one and unthreading the center row.

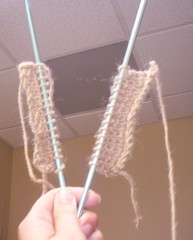
You will end up with two separated pieces of knitting with live stitches at their ends. You’re ready to attach yarn and knit upwards on the bottom piece and then graft the two together with kitchener stitch (Steps 2 and 3)!
Labels: Crafty B*tch


